You can play a video clip at normal speed, then speed it up (or slow it down) and go back to normal speed, or the other way around.
In this V.E.A. tutorial, we're going to show you how to create a 'simple' speed ramp in Adobe Premiere Pro CC!

Step 1:
Import your video into your project.
Editor's Note:
[File > Import]
Step 2:
Left-click the FX badge of your clip and select Time Remapping > Speed.
Step 3:
Move the playhead to the desired starting point of your speed ramp.
Step 4:
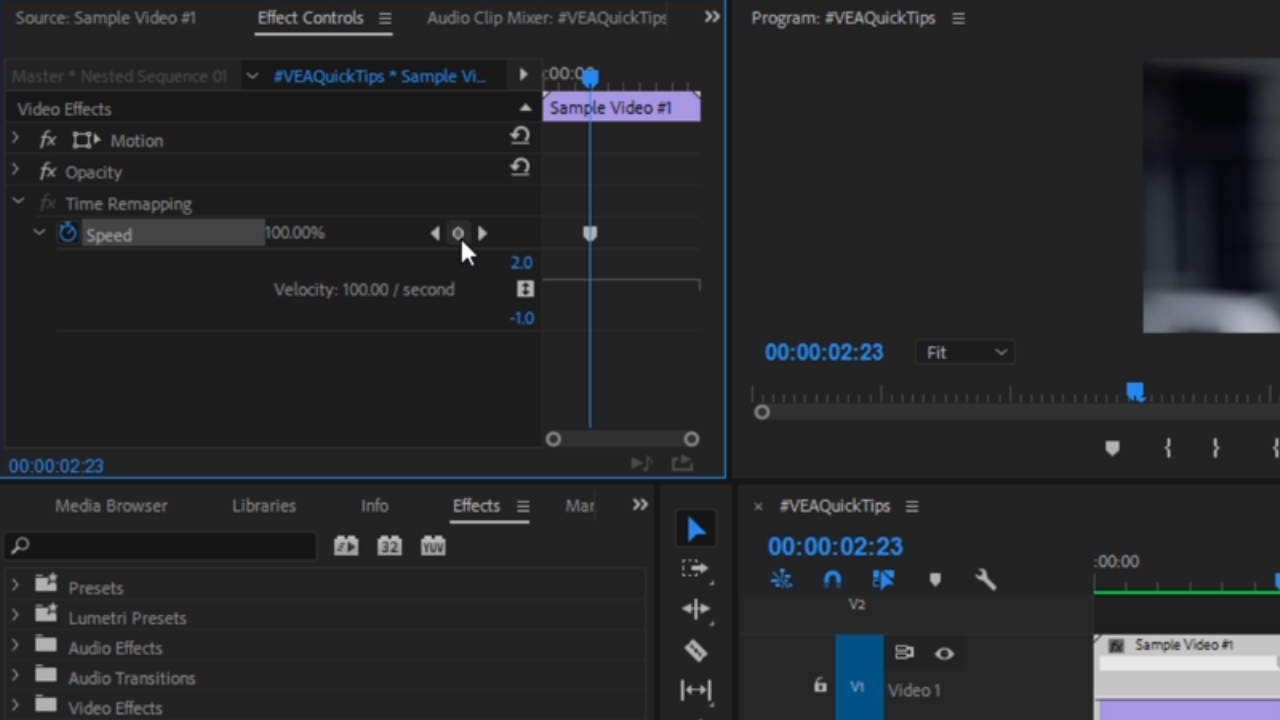
Toggle the Speed animation on and create a keyframe.
Import your video into your project.
Editor's Note:
[File > Import]
Step 2:
Left-click the FX badge of your clip and select Time Remapping > Speed.
Step 3:
Move the playhead to the desired starting point of your speed ramp.
Step 4:
Toggle the Speed animation on and create a keyframe.

Editor's Note:
[Effects Controls Tab > Time Remapping > Speed]
Step 5:
Move the playhead to the desired end point of your speed ramp and create another keyframe.
Step 6:
Drag the speed-band up to increase the speed of the clip.

Editor's Note:
Drag the speed-band down to decrease the speed of a clip.
Step 7:
Split each keyframe to create a gradual speed ramp!


0 comments:
Post a Comment